For years, filmmakers have used 2.5D parallax to make static photos feel more dynamic, as in The Kid Stays In The Picture, the 2002 documentary about film producer Robert Evans that popularized the technique.
Traditionally, a video editor would use Photoshop to isolate the photo elements on separate layers, fill in the removed objects to complete the background, and animate the layers in a tool like After Effects. Here’s a typical tutorial, showing the time-consuming and tedious process.
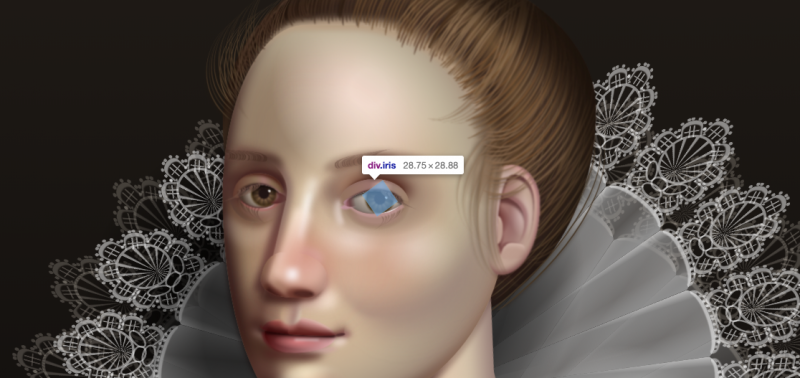
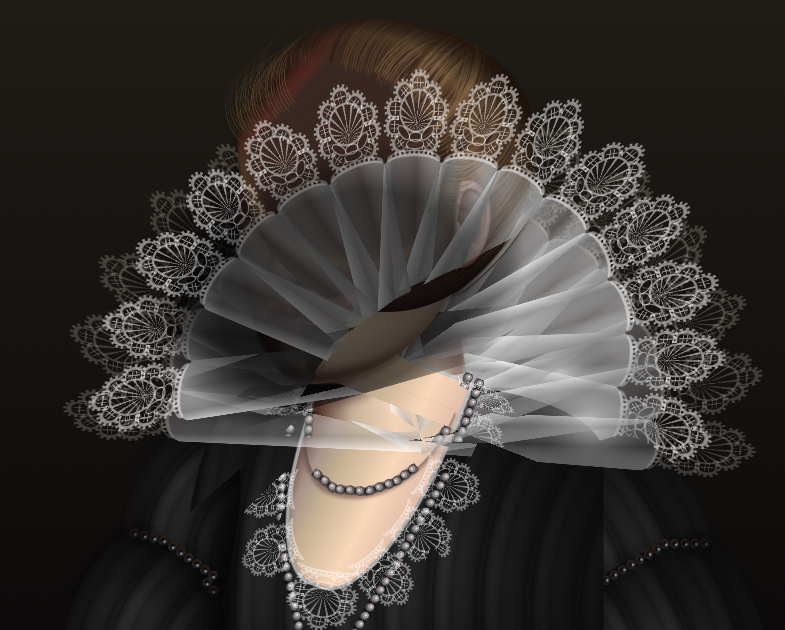
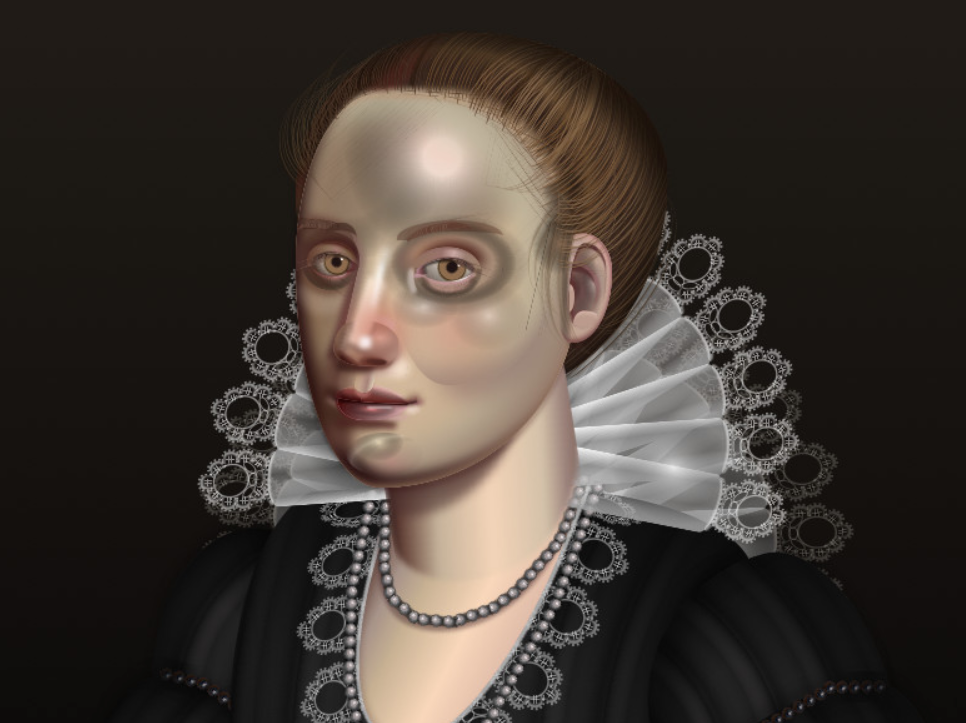
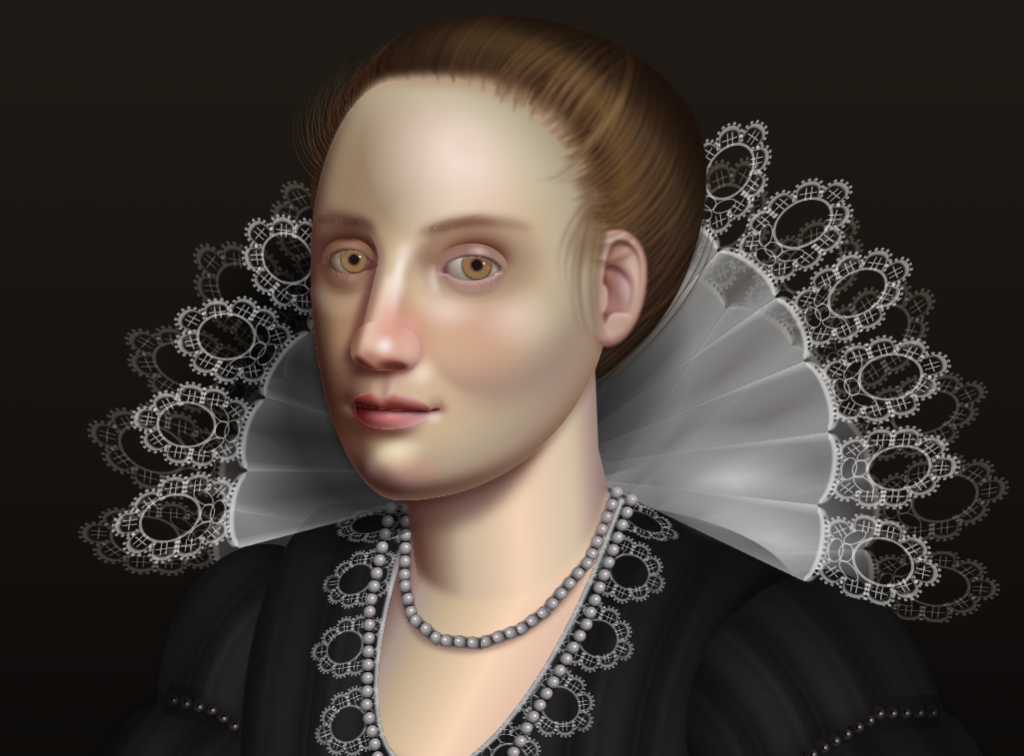
Last September, a team at Adobe Research released a paper and video demonstrating a new technique for animating a still image with a virtual camera and zoom, adding parallax to create what they call “the 3D Ken Burns effect.”
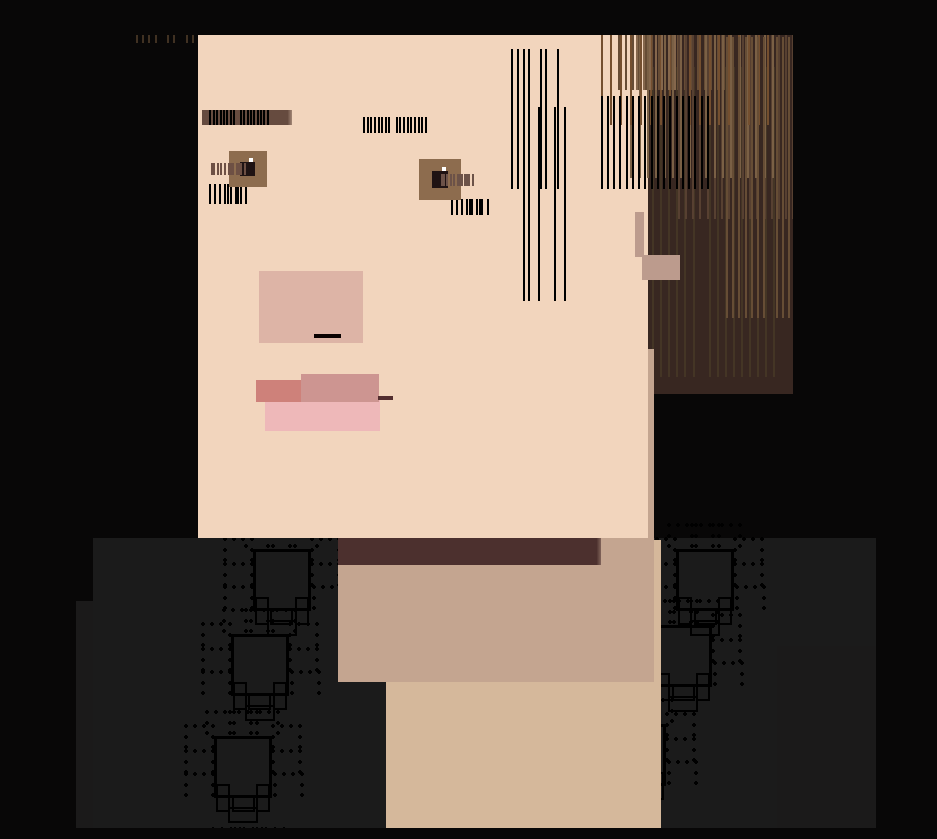
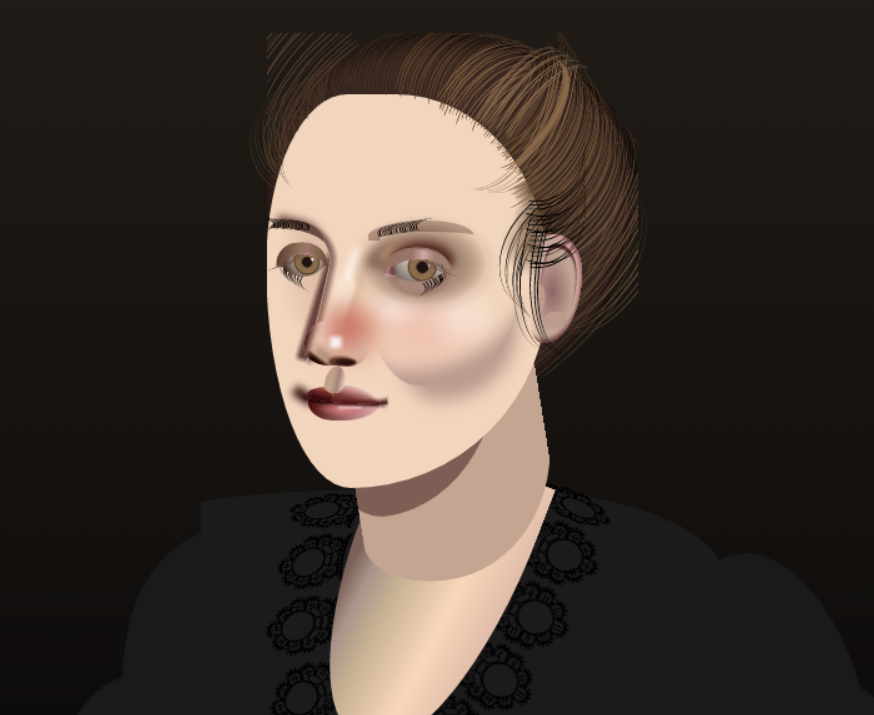
This new technique uses deep learning and computer vision to turn a static photo into a 2.5D parallax animation in seconds, using a neural network to estimate depths, render a virtual camera through space, and fill in the missing areas.
On Monday night, researcher Simon Niklaus finally got permission to release the code, posting it to Github with a CC-NC license, allowing anyone to experiment with it for themselves.
Sample Animations
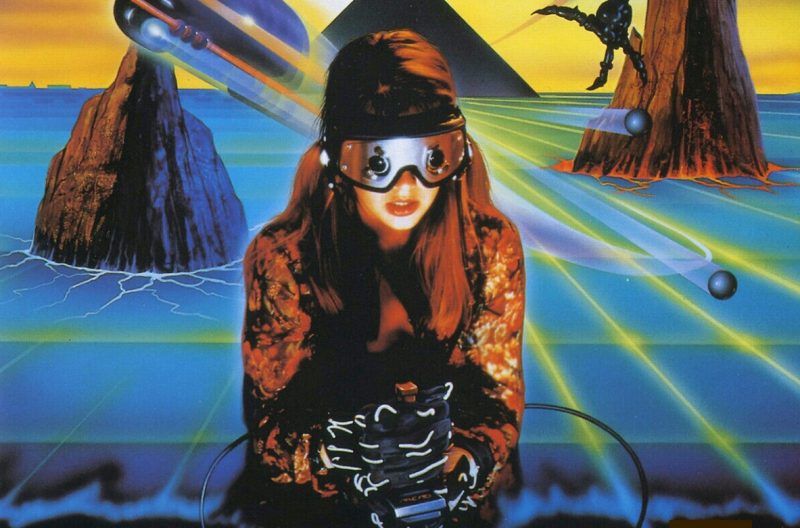
It’s incredibly fun to play with. I ran some famous images through it, and then put a call out to Twitter for more ideas. Here are the results. Click anywhere on the video to play it.
Surprisingly, it even works on illustrations and paintings.
Try It Yourself
Unlike the Spleeter library, the Ken Burns 3D library requires using PyTorch with an Nvidia GPU with CUDA drivers. Sadly, Apple phased out CUDA support in Mojave, but there’s an even easier way to play around with it.
I created a Google Colab notebook here, which will let you process images on Google’s GPUs entirely in your browser.
If you’re unfamiliar with Colab, it can be a bit intimidating. Try this, and let me know if you get stuck.
- Open the Google Colab notebook.
- Click File->Open In Playground Mode to run it yourself.
- Click “Connect” to connect to a hosted runtime, a temporary Google server where the commands will run.
- From the “Runtime” menu, click “Run All.” A warning will pop up, you can click “Run Anyway.”
- On the left-hand side of the window, click the tab to open the Files sidebar.
- The final command processes the “doublestrike.jpg” sample image, and generates a new file in the /images directory called “autozoom.mp4.”
- Upload your own images by right-clicking the “images” folder and clicking Upload. Change the input/output filenames, and click the play button to run the final command again.
Good luck!
Update: This Google Colab notebook by Manuel Romero is much faster and easier to use, with a handy widget to upload files, process images in bulk, and download all the finished animations.